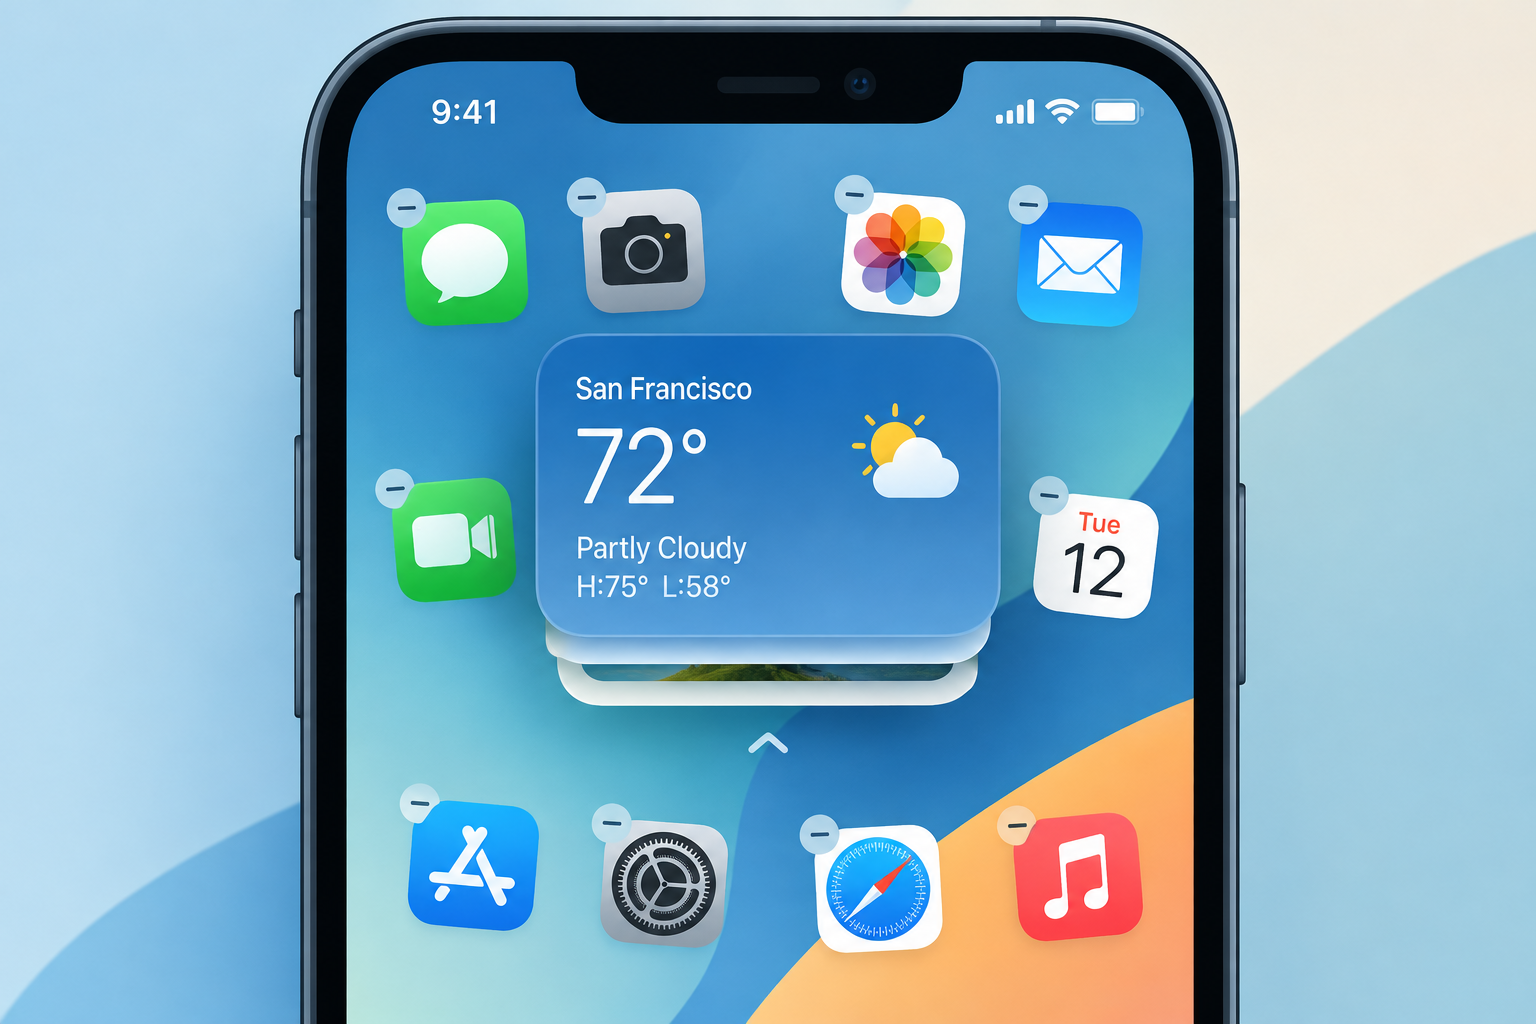
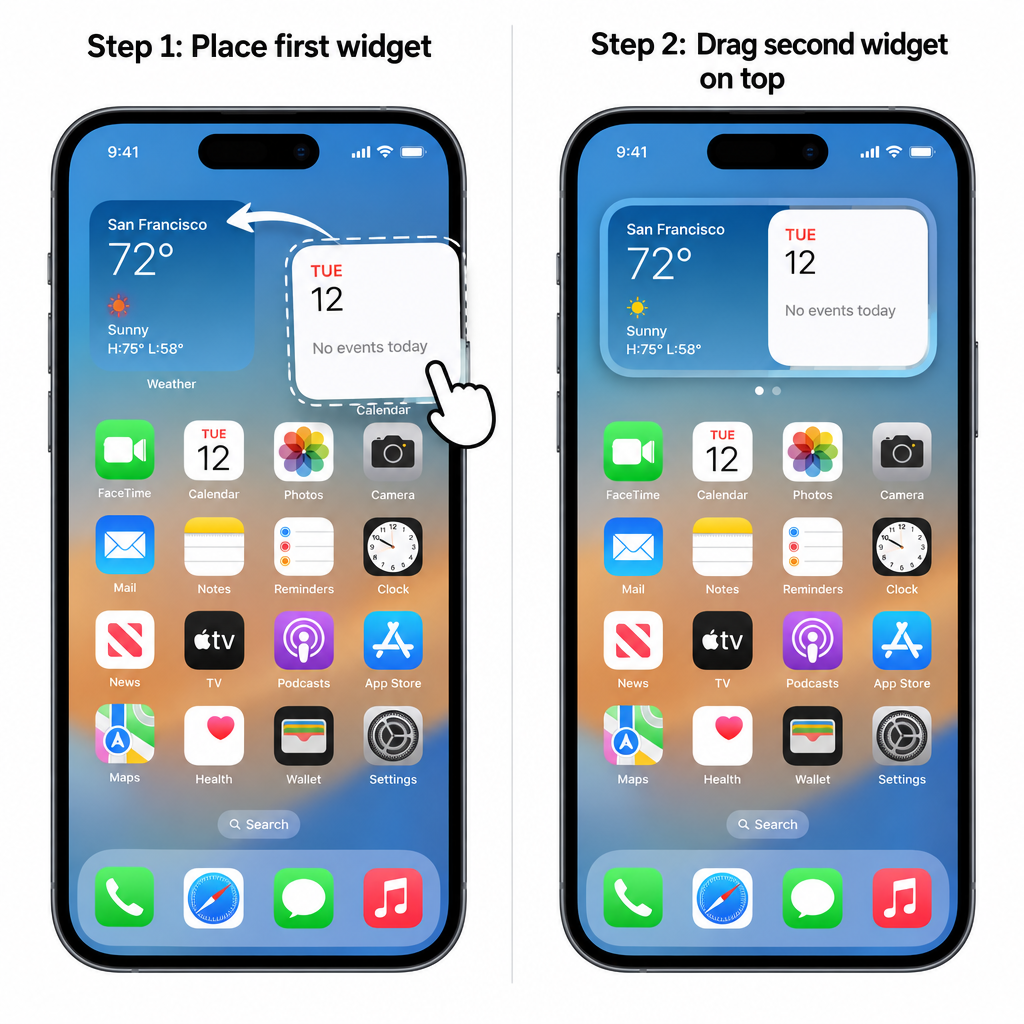
To build a widget stack on an iPhone running iOS 27, touch and hold an empty spot on the Home Screen, tap Edit, then tap Add Widget and place a widget. Then drag a second widget of the same size on top of it. To change the stack, touch and hold it and tap Edit Stack. A Mac can’t do this: on macOS you can add, move and resize widgets on the desktop and in Notification Center, but you can’t stack them.
What a widget stack is
A widget stack is a group of up to 10 same-size widgets that share one spot on your Home Screen. You swipe up or down on the stack to flip between them. Apple added stacks with iOS 14 in 2020. That update was the first big redesign of the iPhone Home Screen in years.
Before iOS 14, widgets only lived in Today View, the screen to the left of your first Home Screen page. Few people used that screen. Glanceable information isn’t much use if you have to swipe to another screen to see it.
iOS 14 replaced the old widgets with new ones. They can show more information, come in several sizes and can go anywhere on the Home Screen. Later versions added more. iOS 15 brought Widget Suggestions. iOS 17 put Smart Stacks on the StandBy screen. iOS 27, released in September 2026, added an extra-large 4×6 size that fills a whole Home Screen page in portrait. Apple apps such as Calendar, Music, Notes, Photos, Reminders and Weather support it.
Smart Stack or your own stack
You have two ways to get a stack:
| Smart Stack | Your own stack | |
|---|---|---|
| How you add it | Pick “Smart Stack” in the widget gallery | Drag one widget on top of another |
| Which widgets it holds | A ready-made set chosen by iOS | Only the widgets you add |
| Smart Rotate | On by default | On by default, and you can turn it off |
| Best for | A quick start | Full control over what shows |
Walking someone through these steps remotely? Most screen sharing tools windows mac and iPhone owners use, including FaceTime’s built-in screen sharing, let you watch their screen while they tap.
How to create your own widget stack in iOS 27
These steps work on iOS 27 and also on iOS 18 and iOS 26, which use the same Edit menu. They work the same way on an iPad.
- Touch and hold an empty area of the Home Screen, or of any other Home Screen page, until the apps start to jiggle.
- Tap Edit in the top-left corner, then tap Add Widget.
- Scroll through the widget gallery and tap the widget you want in your stack. Swipe left or right to pick a size, then tap Add Widget. Drag it to where you want it on the Home Screen.
- Tap Edit > Add Widget again.
- Pick another widget in the same size. This time, drag it straight on top of the widget you just placed. When the first widget makes room, let go and the two become a stack.
- Repeat steps 4 and 5 to add more widgets. A stack holds up to 10.
- Tap Done in the top-right corner when you’re finished.
You can swipe up and down on your stack to scroll through the widgets in it. You can also let iOS switch between them for you with Smart Rotate.
All the widgets in a stack must be the same size. You can’t put a small, a medium and a large widget in the same stack. If a widget won’t drop onto your stack, check its size first.
Widgets show information at a glance. They don’t replace apps. Bigger programs, from photo editors to a dreamcast emulator, still open from their app icon, while a widget only shows a summary of what’s inside an app.
How to edit a widget stack
You can remove a widget from a stack, change the order of the widgets, or control how the stack rotates. All of it happens in the Edit Stack menu:
- Touch and hold the widget stack you want to change.
- Tap Edit Stack in the menu that pops up.
- To delete a widget from the stack, tap the minus (, ) button on that widget, then confirm.
- To change the order, drag a widget up or down in the list.
- Turn the Smart Rotate switch on or off. With it on, iOS brings forward the widget most likely to be useful at that time of day. With it off, the stack stops rotating automatically, though suggested widgets can still appear if Widget Suggestions is on.
- Turn Widget Suggestions on or off. With it on, iOS can add widgets to the stack for apps you use often, based on your past activity.
- Tap outside the list, or tap Done, to finish.
If you want a stack that never shuffles on its own, turn off both Smart Rotate and Widget Suggestions. This helps on a family member’s phone, where a widget that keeps changing can be confusing.
How to delete a widget stack
To delete a stack you made, touch and hold the stack, tap Remove Stack in the menu, then tap Remove to confirm. This removes the whole stack and every widget in it. It doesn’t delete any apps or their data, and you can rebuild the stack at any time from the widget gallery.
What works on a Mac
Macs show widgets, but they don’t let you stack them. Apple’s Mac User Guide covers adding, moving, resizing and removing widgets, with no option to group them. On macOS Sonoma and later, including macOS 27 Golden Gate, you can put widgets in two places:
- Desktop: Control-click the wallpaper, choose Edit Widgets, pick a widget and size from the gallery, then drag it into place.
- Notification Center: Click the date and time in the menu bar, scroll to the bottom and click Edit Widgets. Move the pointer over a widget and click its Add button, then click Done.
You can also show your iPhone’s widgets on your Mac. Turn this on in System Settings > Desktop & Dock > Widgets > Use iPhone widgets. Your iPhone needs to be signed in to the same Apple Account and be nearby, or on the same Wi-Fi network.
Lots of desktop widgets can make an older Mac feel cluttered. If yours is slow in general, a list of macos apps to optimize mac storage and memory will help more than removing widgets. Get those apps from the Mac App Store or the developer’s own site.
Final tip
Start with one stack of three or four widgets you check every day, such as Weather, Calendar and Reminders. Leave Smart Rotate on for a week. If the stack keeps showing the wrong widget, turn Smart Rotate off and put your most-used widget at the top of the list.
FAQ
How many widgets can a stack hold?
A widget stack on iPhone or iPad holds up to 10 widgets. Once you reach 10, you have to remove one in Edit Stack before you can add another. If you need more, make a second stack somewhere else on the Home Screen.
Why won’t a widget drop onto my stack?
Usually the widget is a different size from the ones already in the stack. Every widget in a stack has to be the same size. Remove the widget, add it again in the matching size from the widget gallery, and drag it onto the stack.
Can you stack widgets on a Mac?
No. macOS lets you add, move and resize widgets on the desktop and in Notification Center, but it doesn’t group them into stacks. On an iPhone or iPad, you can stack them.
What is the difference between Smart Rotate and Widget Suggestions?
Smart Rotate only reorders the widgets already in your stack, bringing up the one most likely to be useful at that moment. Widget Suggestions can add widgets for apps you use often, even ones you never added yourself. You can turn either one on or off in Edit Stack.
Can you put a widget stack on the Lock Screen?
No. The iPhone Lock Screen takes single small widgets under the clock, not stacks. Smart Stacks do appear in StandBy, the landscape view an iPhone shows while charging on its side, which arrived with iOS 17.
Does deleting a widget stack delete the apps?
No. Removing a stack only takes the widgets off your Home Screen. The apps and their data stay on your device, and you can add the widgets back from the widget gallery whenever you like.
Sources
- Apple Support: How to add and edit widgets on your iPhone (support.apple.com/118610)
- Apple Support: Add and customize widgets on Mac, Mac User Guide (support.apple.com/guide/mac-help/mchl52be5da5/mac)
- Apple Support: Notification Center on your Mac, iMac User Guide for macOS 26 (support.apple.com/guide/imac/apd6d7eb47b9)
- Apple: macOS 27 overview (apple.com/os/macos)