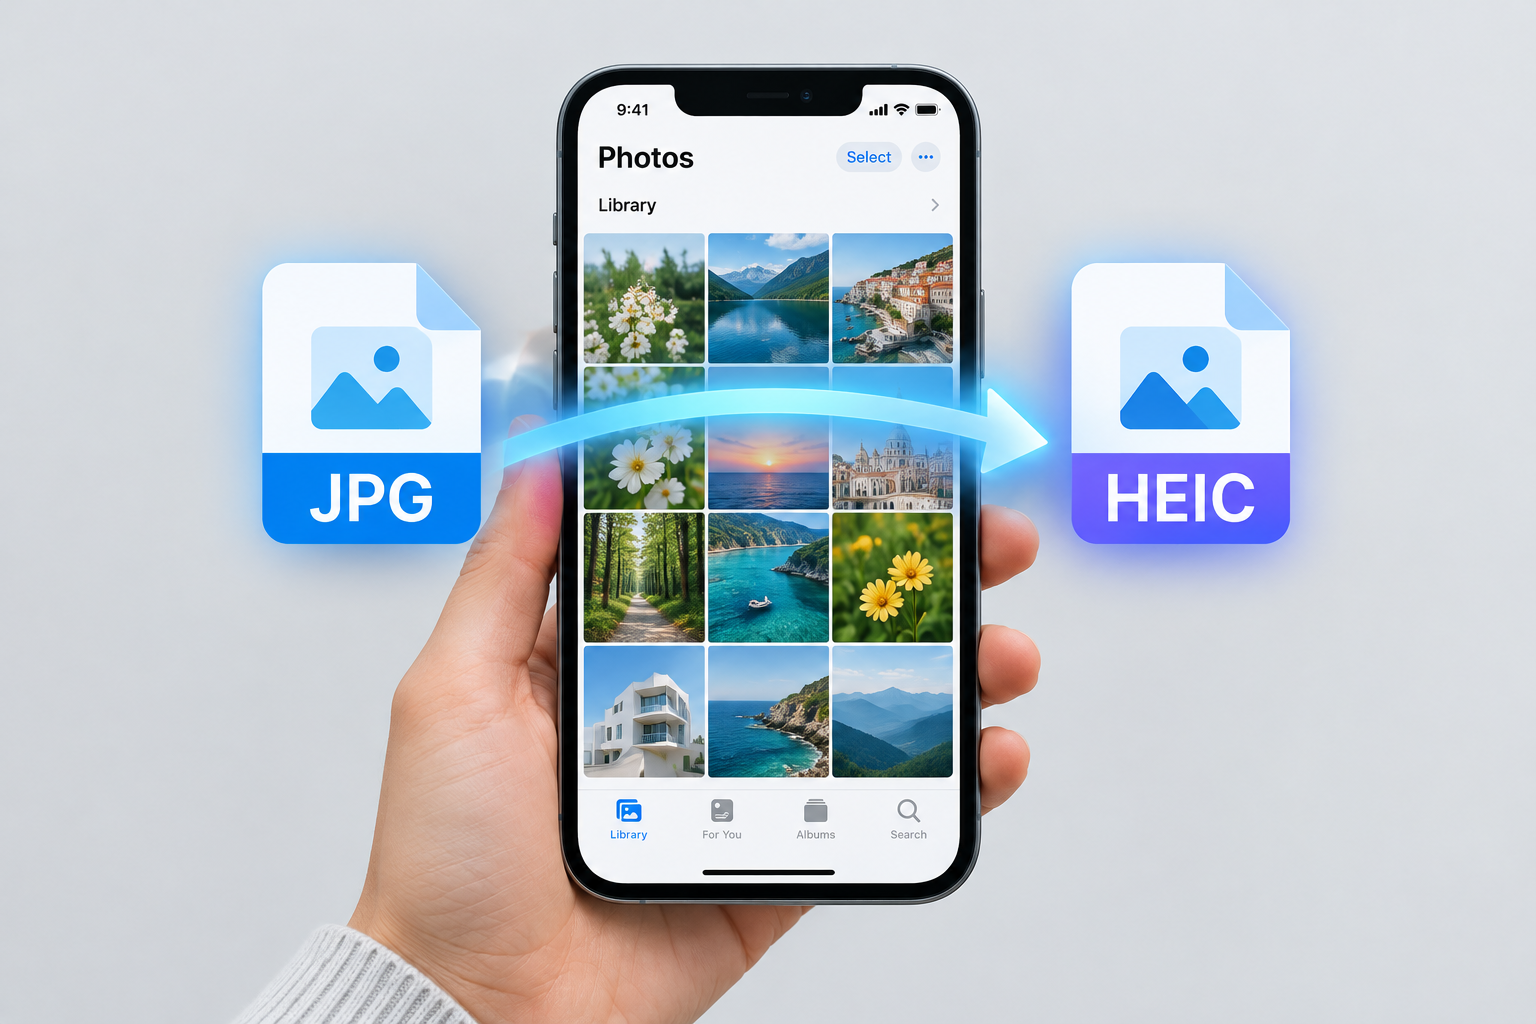
You can convert JPG images to HEIC on your iPhone with the free Shortcuts app that comes with iOS, so you don’t need a third-party converter. You build a three-action shortcut once: Select Photos, Convert Image (set to HEIF) and Save to Photo Album. After that, you pick any number of JPGs and they’re saved again as HEIC copies. The steps below work in iOS 27, which Apple released on September 14, 2026, and in recent earlier versions.
Apple’s HEIC format stores photos at roughly half the size of a standard JPEG, with no visible loss in quality. That’s why Apple made it the default camera format on the iPhone, starting with iOS 11. You can check which format your camera uses in Settings > Camera > Formats: High Efficiency saves HEIF/HEIC, and Most Compatible saves JPEG. For managing storage, HEIC makes a real difference.
Why convert JPG photos to HEIC
Even with High Efficiency turned on, your iPhone can still fill up with JPG images that take a lot of space. Many of them come from messaging and social media apps that save pictures automatically, or from photos people send you. If you want to free up some storage, converting them to HEIC is one option.
Online converters and ad-supported converter apps mean uploading your photos to someone else’s servers or handing them to an unknown app. That’s a bad idea for personal pictures. The safer option is to do the conversion on the iPhone itself with a shortcut.
The shortcut is easy to build. Once it’s set up, you can convert a whole batch of JPG photos to HEIC in one go.
Before you create the shortcut
You need the Shortcuts app. It comes preinstalled on current iPhones and iPads. If you deleted it, you can download it again for free from the App Store.
It also helps to create a separate album first, so the converted HEIC images are easy to find after each run.
- Open the Photos app.
- Go to the Albums section (on iOS 18 and later, scroll down to Albums) and tap the plus (+) button.
- Choose New Album and name it something like “HEIC.”
Build the JPG to HEIC shortcut step by step
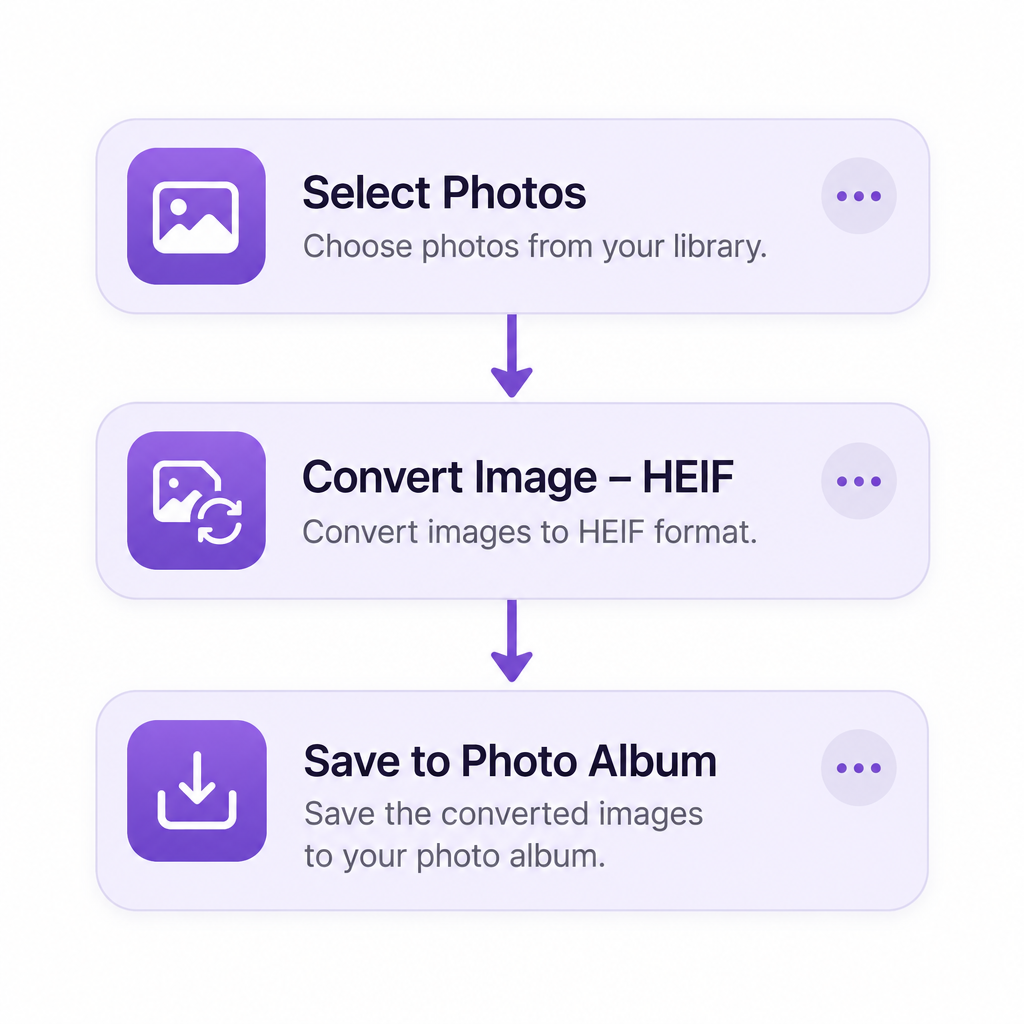
The shortcut uses three actions in this order: Select Photos, Convert Image and Save to Photo Album. The exact button positions vary a little between iOS versions, but the action names have stayed the same.
Step 1: Open the Shortcuts app on your iPhone or iPad.
Step 2: On the Shortcuts tab, tap the plus (+) button in the upper-right corner to create a new shortcut. The empty shortcut editor opens, with a Search Actions field at the bottom of the screen.
Step 3: Tap Search Actions, type “select photos” and tap Select Photos. Then tap the small arrow in the action to expand it and turn on the Select Multiple switch. This lets you convert many photos at once.
Step 4: Tap Search Actions again, type “convert image” and tap Convert Image.
By default the action reads “Convert Photos to JPEG.” Tap JPEG and choose HEIF instead.
Expand the action with its arrow and check that the Preserve Metadata switch is on. That keeps details such as the date taken and the location with the converted copy. If you turn it off, that information is stripped.
Step 5: Tap Search Actions once more, type “save to photo album” and tap Save to Photo Album.
If you created an album for the converted HEIC images, select it now: tap Recents in the action and pick your album from the list. If you don’t want to save to a specific album, leave the action as it is, and the images go to your main library.
Step 6: Tap the shortcut’s name at the top of the editor, choose Rename and enter a name such as “JPG to HEIC.” Then tap Done.
The shortcut is ready to use.
Convert JPG to HEIC with the shortcut
You can run the shortcut from the Shortcuts app, from a Shortcuts widget on your Home Screen, or with Siri by saying the shortcut’s name (for example, “Siri, JPG to HEIC”).
Before you start, consider adding the JPG images you’re about to convert to their own album in the Photos app. That makes them easy to delete afterward, so you don’t end up with duplicates, which matters if your goal is to free up storage.
Step 1: Run the JPG to HEIC shortcut. The Photos picker opens. Select the JPEG images you want to convert, as many as you like. Tap Add (or Done, depending on your iOS version) to start the conversion.
Step 2: The shortcut shows its progress while it works. When it finishes, open the album you picked in the Photos app to see the converted images.
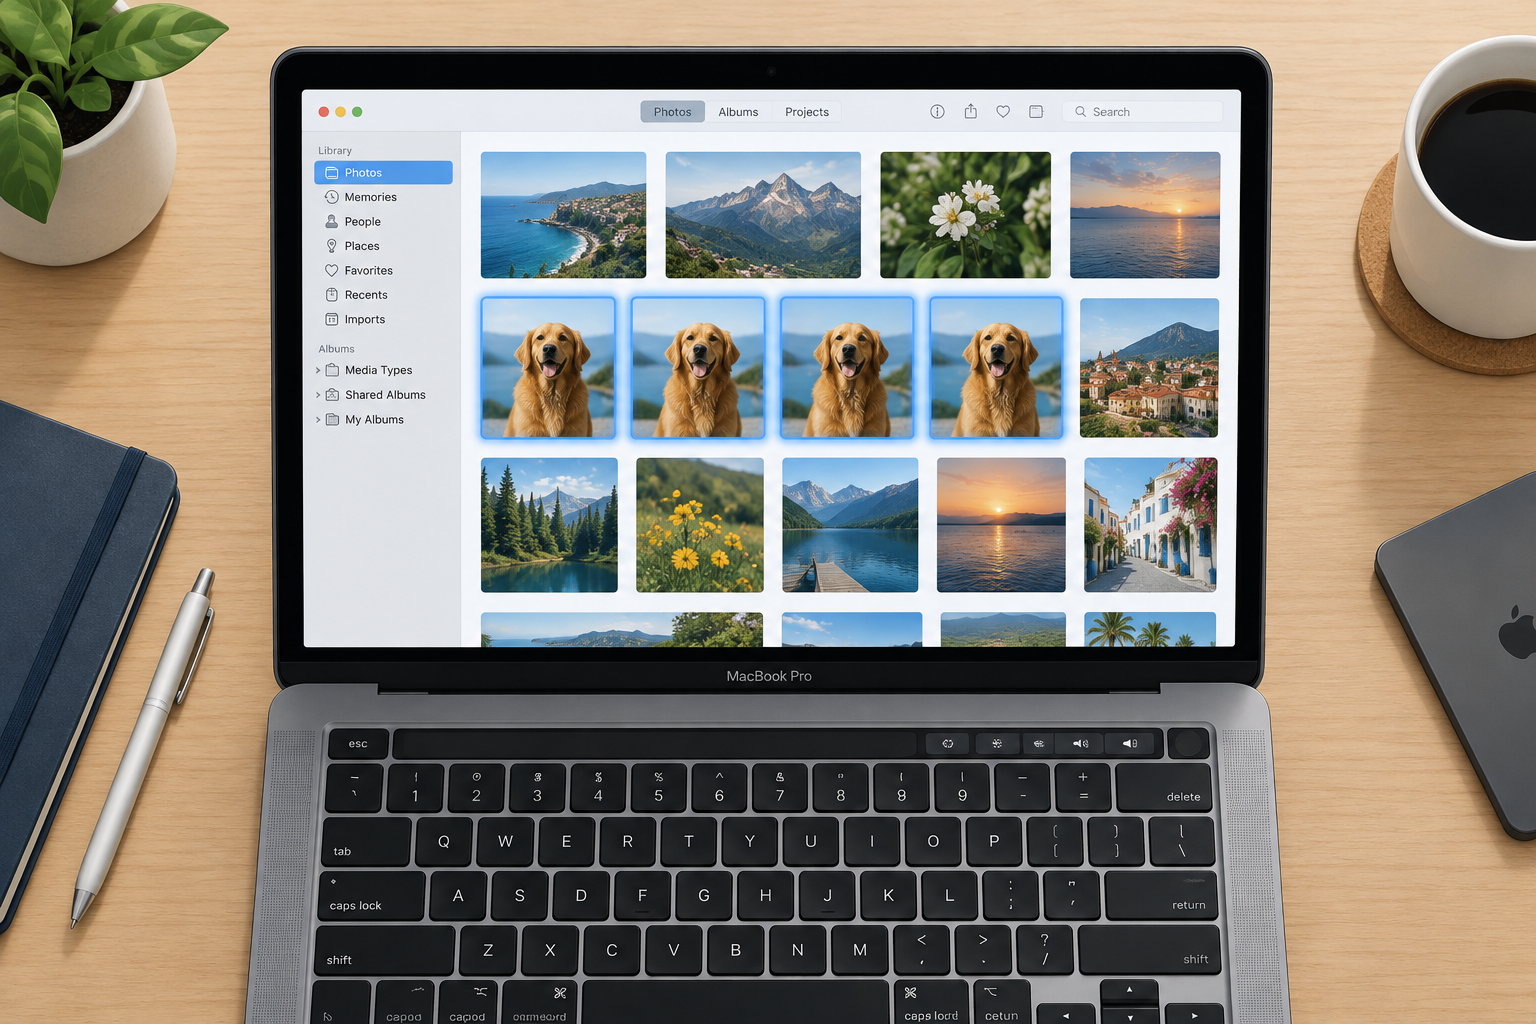
Step 3: Optionally, confirm that the images are now in HEIC format. Open a converted photo in the Photos app and swipe up, or tap the info (i) button. The info panel lists the file format along with the size and resolution, so you should see HEIF instead of JPEG.
If you built the shortcut correctly, the images are now HEIC files. If everything looks right, you can delete the JPG originals.
Deleted photos go to the Recently Deleted album and stay there for 30 days. To get the storage back right away, open Recently Deleted and delete them from there too. If you use iCloud Photos, the deletion syncs to all your devices, so only delete originals you’re sure you don’t need.
What you gain, and what you don’t
The shortcut makes it simple to convert JPEG images to HEIC, and you don’t have to put up with an ad-filled converter app.
Keep in mind that when you convert a JPG, the only benefit you get is the smaller file size. HEIC as a format can hold more than JPEG: 10-bit color, HDR data, Live Photos and Portrait mode depth maps. Only photos shot directly in HEIC have that extra data, though. A converted JPG doesn’t gain any of it, because the JPG never captured it in the first place. The conversion also compresses the image a second time, so it can’t improve quality. At best, it keeps the quality you already had.
There’s a compatibility trade-off too. Apple devices running iOS 11 or macOS High Sierra and later open HEIC files without any problem. Some older Windows PCs, Android phones and websites may not. If you often send photos to people outside Apple’s ecosystem, keep JPG copies of the pictures you share most.
FAQ
Does converting JPG to HEIC reduce photo quality?
Every conversion re-compresses the image, but at normal settings the difference is very hard to see. HEIC can’t restore detail that was already lost when the JPG was made. Use it to save space, not to improve your photos.
Can I convert JPG to HEIC on iPhone without an app?
Yes. The Shortcuts app is built into iOS, and the Convert Image action supports HEIF output, so you don’t need to download a converter. That also keeps your photos on your device and off third-party servers.
Will the converted photos keep their date and location?
They will if the Preserve Metadata switch in the Convert Image action is on. With it on, the shortcut copies the original metadata into the new HEIC file. Turn it off only when you deliberately want to strip details such as location before sharing.
Why are some photos on my iPhone JPG instead of HEIC?
Images saved from messaging apps, social media apps and websites are often JPGs, whatever your camera setting. Photos taken while Settings > Camera > Formats is set to Most Compatible are also saved as JPEG. Only photos taken with High Efficiency turned on are saved as HEIC from the start.
How do I check whether a photo is HEIC or JPG on iPhone?
Open the photo in the Photos app and swipe up or tap the info (i) button. The info panel shows the format with the file size and resolution. You can also save the image to the Files app, where the file extension shows.heic or.jpg.
Can I open HEIC photos on Windows or Android?
Many current devices can, but support isn’t universal. Older Windows PCs may need Microsoft’s official HEIF and HEVC extensions from the Microsoft Store, and some apps and websites only accept JPEG. When you need maximum compatibility, share a JPG copy instead.
Sources
- Apple Support: Using HEIF or HEVC media on Apple devices
- Apple Shortcuts User Guide: Create a custom shortcut on iPhone or iPad
- MacRumors: iOS 27 release date