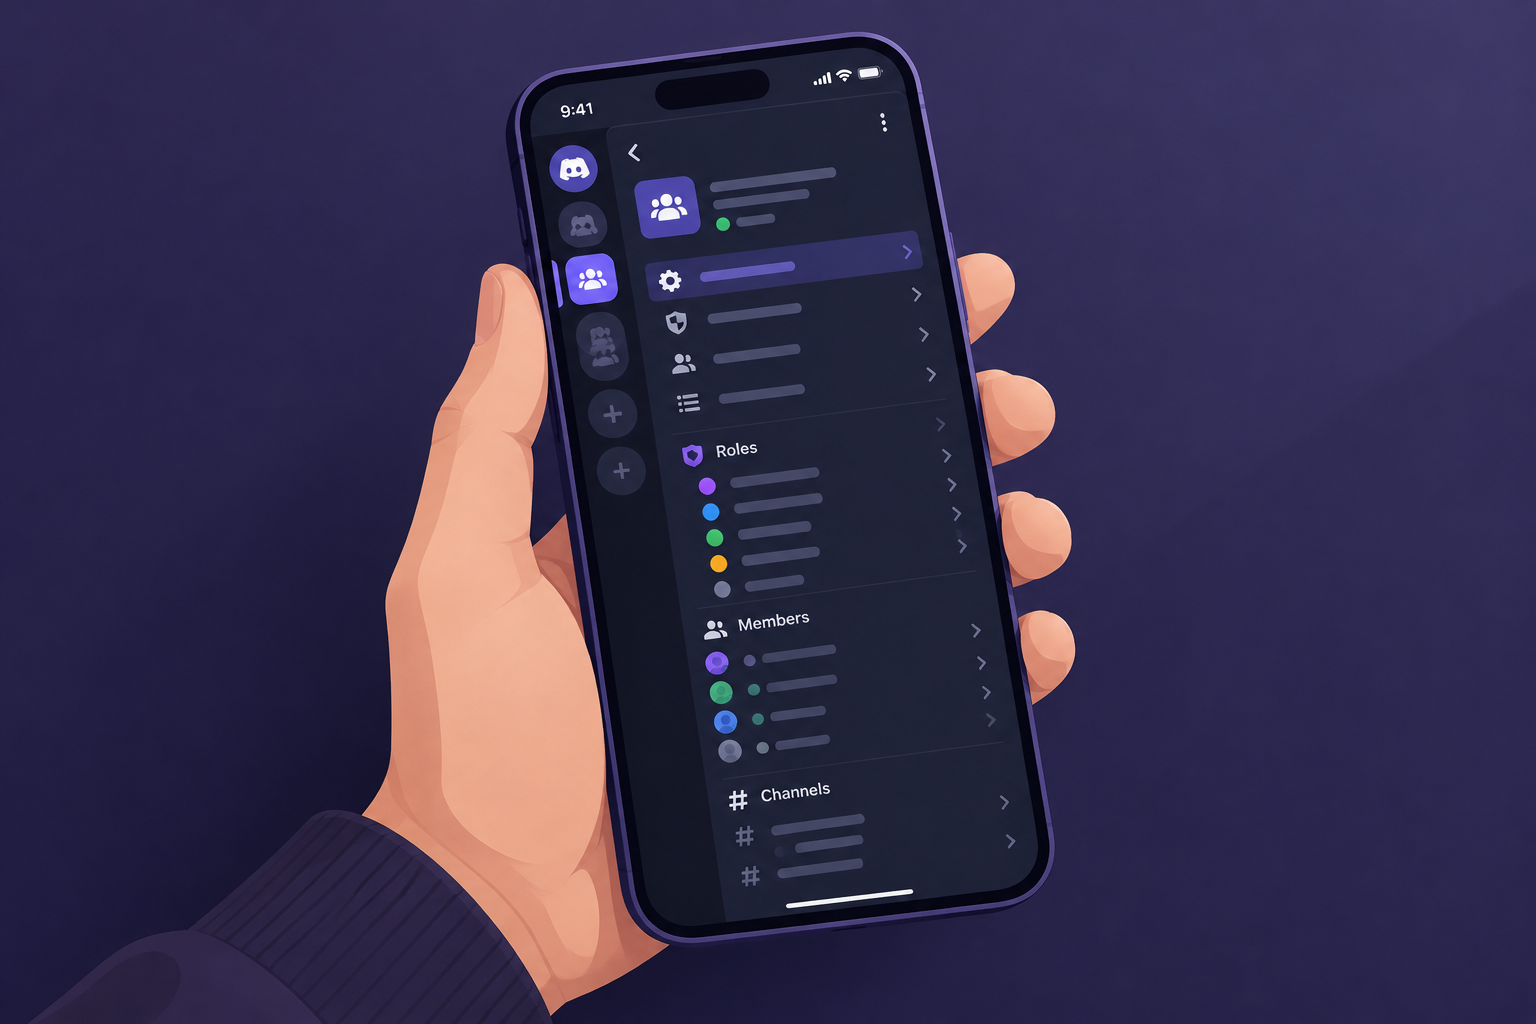
You can run a whole Discord server from the Discord app for Android or iPhone. Tap the server’s name at the top of its channel list. That menu holds Invite, Create Channel, Create Category and Settings, and Settings is where you handle roles, members, safety and boosts. The steps below are the same in the mobile app, the desktop app and the web version at discord.com. Labels can move a little between app updates, but the section names stay the same.
Discord grew from a chat app for gamers into one of the most popular places to run an online community. It has replaced older tools like Skype and TeamSpeak for many groups. Lots of video games run an official server where fans can follow news, and anyone can create a free server for their own friends, club or community. A server works like a group chat with many more tools for organizing people and conversations.
What this guide covers
This guide shows you how to create a Discord server and then manage it well. It explains what each main setting does, and whether you should turn it on.
1. Creating a Discord server
Creating a server is free and takes about a minute. Open the Discord app on Android or iOS, the desktop app on Windows, Mac or Linux, or the website, and sign in.
- In your server list, tap the + (Add a Server) button. On mobile it sits at the bottom of the server list. Open the list by swiping right or tapping the menu icon at the top left.
- Choose Create My Own. You can also pick one of Discord’s ready-made templates, such as Gaming, Friends, Study Group or School Club. A template sets up the starting channels for you.
- Say whether the server is For me and my friends or For a club or community. You can also skip this question.
- Type a server name and, if you like, upload an icon. You can add or change the icon later.
- Tap Create Server.
That’s it: your first Discord server is ready. Discord then asks you to invite friends. You can send invites now or skip this step and come back to it.
If someone gives you a server template link, opening it starts the same flow with their channels and roles already in place. Templates are public, so never put private information into one you share.
2. Adjust server settings
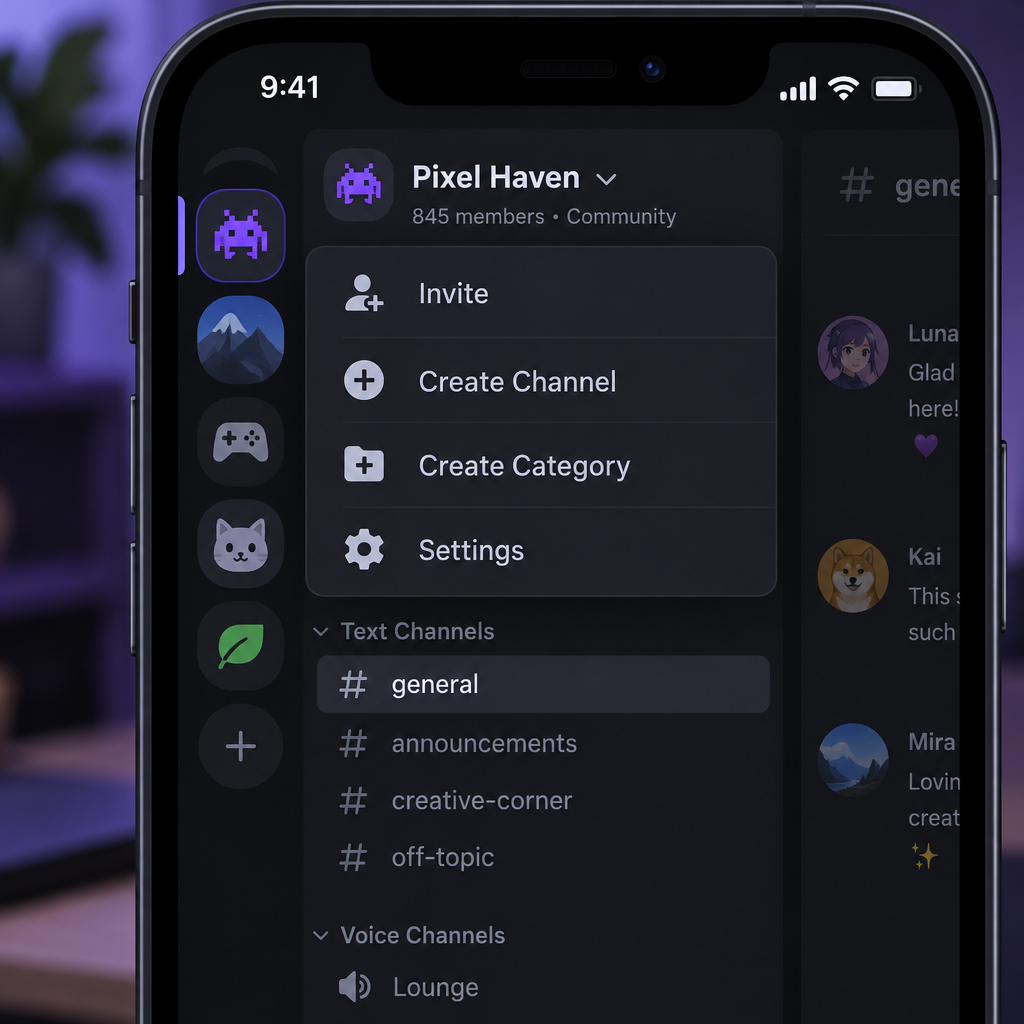
To change server settings on mobile, tap the server name at the top of the channel list, then tap Settings. On desktop, click the server name at the top left and choose Server Settings. The sections that matter most at the start are Overview, Safety Setup and Integrations.
Overview
In Overview you can set an Inactive Channel and an Inactive Timeout. Older versions called these the AFK channel and AFK timeout. If someone sits idle in a voice channel for longer than the timeout, Discord moves them to the inactive channel. This keeps your main voice channels clear for people who are really talking. It does not affect text chat.
Further down, change Default Notification Settings from All Messages to Only @mentions. New servers start on All Messages, which means every member gets alerted for every message. That gets noisy fast in a busy server. This default only applies to members who haven’t picked their own notification settings.
Safety Setup
The old Moderation section is now Safety Setup. This is where you set the Verification Level and the explicit image filter.
| Verification level | What it asks of new members |
|---|---|
| None | Nothing |
| Low | A verified email on their Discord account |
| Medium | A verified email, and an account at least 5 minutes old |
| High | All of the above, and membership of the server for at least 10 minutes |
| Highest | A verified phone number on their account |
A private server for a few friends works fine on None or Low. A public server should use at least Medium. The explicit image filter blocks messages that may contain explicit images in any channel not marked as age-restricted. Leave it on if your server is public or has younger members. You only need to loosen it if you run age-restricted channels on purpose.
Integrations
The old “Interactions” tab is really Integrations. Here you manage the apps (bots) and webhooks connected to your server. Creators can also link services such as Twitch or YouTube to give subscribers their own role. Your personal links to accounts like Steam, Reddit or YouTube are a separate thing. You manage those under User Settings > Connections, not in the server’s settings.
3. Adding people to your server
To add people, tap the server name at the top and choose Invite.
Discord creates an invite link. You can share it straight from your phone’s share sheet by email, WhatsApp, iMessage, Messenger and other apps. By default an invite link expires after 7 days. To change how long it lasts or how many times it can be used, open the link settings before you share it. For a public community, a link that never expires is easier. For a private group, a short expiry keeps old links from getting passed around.
4. Managing roles on your server
To manage roles, go to Settings > Roles and tap Create Role (or the + sign) to add a new one.
Roles are titles you give to certain members. They decide what those members can do on the server. The settings are simple: give the role a name and a color, then choose its permissions. For example, a “Moderator” role might get Manage Messages and Timeout Members, but not Administrator.
Once your roles exist, assign them to people:
- Go to Settings > Members to see everyone on your server.
- Tap a member’s name.
- Tap Edit Roles (or the + next to their roles), tick the roles you want, and save.
Shortcut: press and hold a member’s name in chat or in the member list, then tap Roles.
Order matters. A role can only manage roles that sit below it in the list. Keep your moderator role under your admin role, and keep the roles that bots need above the roles those bots manage.
5. Creating channels and categories
A channel is a space inside your server where people talk. The two basic types are text channels and voice channels. Once you turn on Community features, you can also add announcement, forum and stage channels. Most servers set up several channels for different purposes.
A Minecraft server, for example, might have channels for builds, texture packs, beta versions, spin-offs like Minecraft Dungeons, technical help and general chat. A study server might keep one channel for sharing notes and another where members compare the best handwriting apps for android. Members mostly use voice channels to talk to each other while they play. Admins also add channels for server rules, an FAQ, announcements and a channel guide that explains what each channel is for.
To create a channel:
- Tap the server name at the top and choose Create Channel. You can also tap the + next to a category name.
- Choose the channel type and give it a name.
- If you want, turn on Private Channel so only the members or roles you pick can see it.
- Tap Create Channel.
To create a category, tap the server name and choose Create Category. Categories group your channels by topic, for example “Info”, “Chat” and “Voice”.
Give the category a name and tap Create Category. Then put your channels inside it. On desktop you just drag them. On mobile, open a channel’s settings and change its category, or use the reorder option in the channel list. Keeping related channels together makes a busy server much easier to get around.
6. Boosting your server for more features
Members unlock extra features for your server with Server Boosts. A boost is a paid perk: Nitro subscribers get 2 boosts to use, and anyone can buy more. Boosts do not come from how popular or active your server is. To see your current level, open Settings and go to the Server Boost section.
| Boost level | Boosts needed | Examples of what it unlocks |
|---|---|---|
| Level 1 | 2 | More emoji, sticker and soundboard slots, 128 Kbps audio, 720p 60fps Go Live streams |
| Level 2 | 7 | More slots again, 256 Kbps audio, bigger uploads for members, a server banner |
| Level 3 | 14 | The most emoji and sticker slots, 384 Kbps audio, a vanity invite link |
Some newer perks, such as Server Tags and enhanced role styles, are paid for with their own set of boosts and don’t count toward your level. A small server of friends runs fine on no boosts at all. Boosting is worth it mostly for large communities that use voice, streaming and custom emoji a lot.
Final thoughts
You can use almost any app to stay in touch with friends or a gaming group. Discord stands out because it gives you real control: you can have as many channels as you need, detailed roles, and safety tools built into the app. If you’ve been reading a zoom alternative reddit thread, it’s worth knowing that Discord’s voice channels and video calls cost nothing for small groups and don’t need anyone to schedule a meeting. A good next step is to create your server, make one moderator role, set Safety Setup to at least Medium, and invite a few friends to try the layout before you open it up.
FAQ
Can you do everything on Discord mobile that you can on desktop?
Almost everything. The Android and iOS apps cover creating servers, channels, categories and roles, assigning roles, invites, Safety Setup and boosts. A few jobs are easier on a big screen, such as dragging lots of channels into new categories or setting detailed permissions for every channel.
How do I make someone a moderator on Discord mobile?
Create a role under Settings > Roles with moderation permissions, such as Manage Messages, Kick Members and Timeout Members. Then assign it under Settings > Members by tapping the person and editing their roles. Don’t give out the Administrator permission unless you fully trust the person, because it skips every other permission check.
Is it free to create and run a Discord server?
Yes. Creating a server, adding channels and roles, and using voice and video cost nothing. Paying only unlocks Server Boost perks, such as higher audio quality, more emoji slots and bigger uploads. Members fund those through Nitro or by buying boosts.
Why can’t I see Server Settings on my phone?
You need to be the server owner, or have a role with the Manage Server permission, to open most settings. If the options are missing on a server you own, update the Discord app from the App Store or Google Play. Then tap the server name at the top of the channel list again.
How do I delete a Discord server on mobile?
Only the owner can delete a server. Open Settings, scroll to the bottom, tap Delete Server, and confirm by typing the server name. If the owner has two-factor authentication turned on, Discord also asks for the code. Deleting a server cannot be undone.
Sources
- Discord Server Boosting FAQ
- Discord Safety: Four steps to a super safe server
- Discord Support: Verification levels
- Discord Support: New Server Notification Settings